Keeping aggregate equipment well-maintained is key to maximizing performance, safety, and longevity. Find out how regular upkeep can reduce costs, prevent downtime, and improve overall productivity in the aggregate industry.
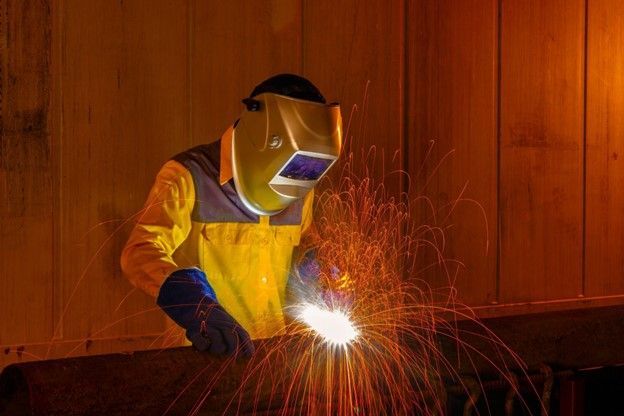
Discover essential welding safety tips for industrial sites, including equipment maintenance, fire prevention, and proper ventilation to ensure a safer work environment for welders and site workers alike.
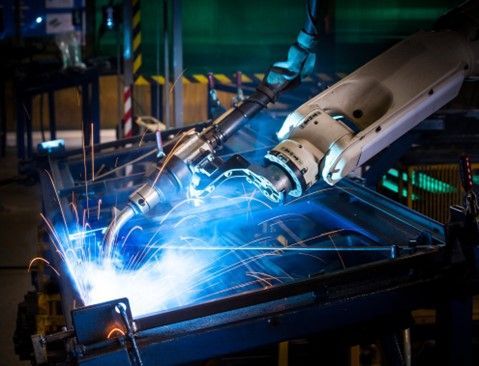
Dive into the latest innovations in welding technology, including advanced arc welding, laser welding, ultrasonic welding, and hybrid techniques. Learn how automation, smart welding systems, and virtual reality training are transforming the industry by enhancing precision, efficiency, and safety in welding processes.
If you are embarking on a construction project, read our blog to learn the benefits of working with a mobile crane service for your heavy lifting needs.
Explore essential welding project tips to ensure success, from planning and equipment selection to safety protocols and maintenance. Learn how to master techniques, inspect your work, and seek expert advice to improve your welding skills.
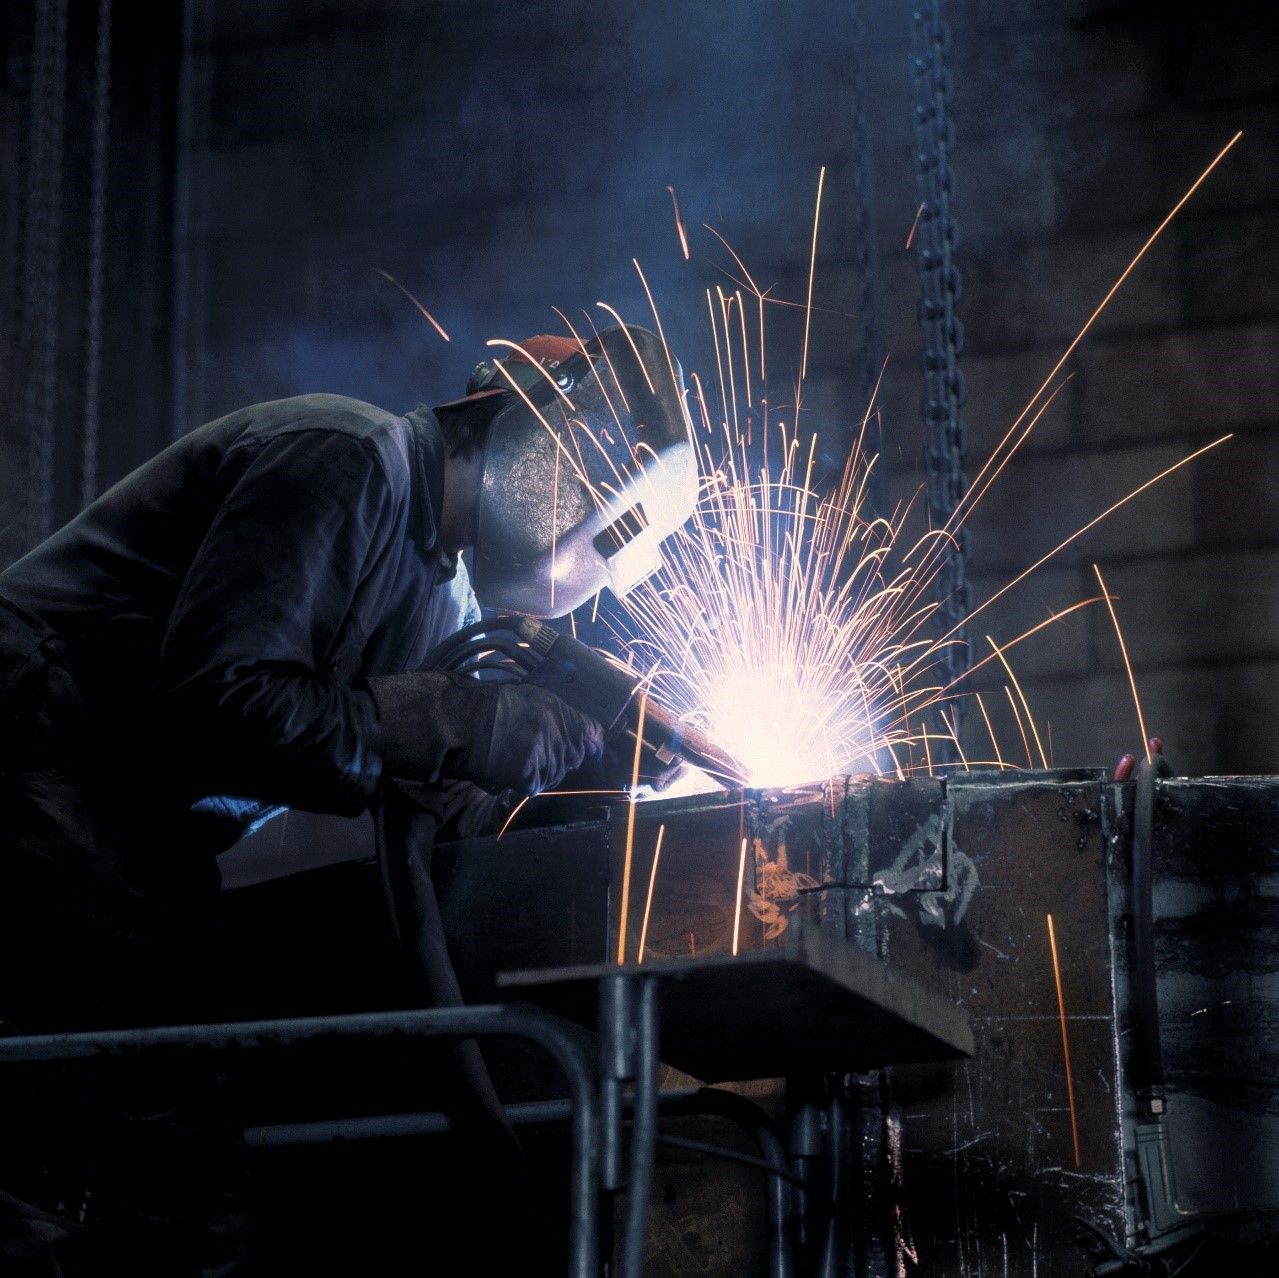
Read this informative article to learn how Gas Metal Arc Welding (GMAW) plays a pivotal role in commercial projects across various industries.
Welding services play a pivotal role in agricultural industries. Read our blog to learn how you can utilize welding services on your farm.

Read this blog for six key benefits of hiring a welding service for construction equipment repair, including cost savings, reduced downtime, and more.
Damage to oil field drills can cost you money through lost revenue and repair or replacement costs. Read on to learn more helpful preventative measures.
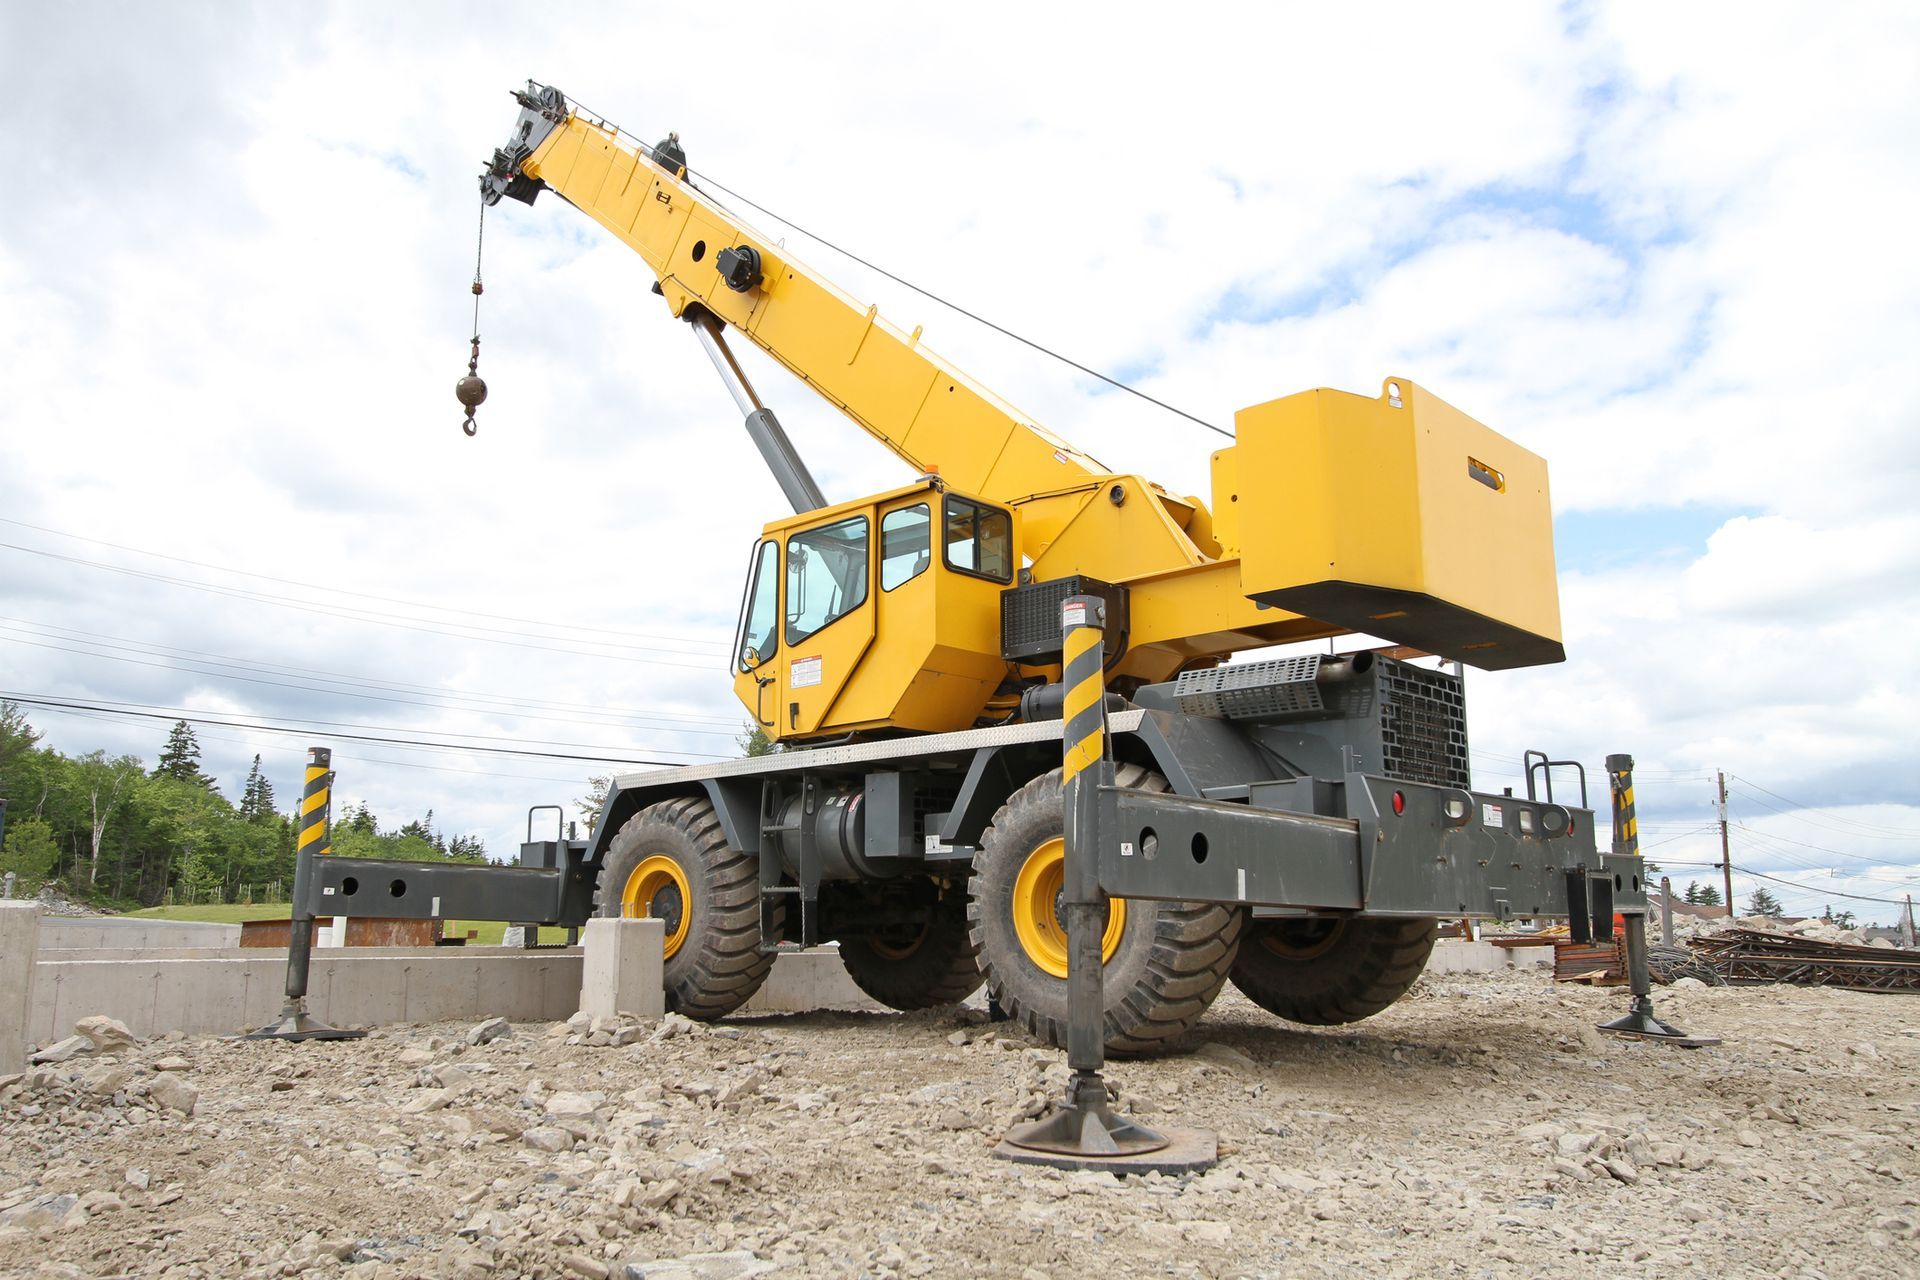
Is your company working on a project where you need to lift something that is immensely heavy or especially oversized? Fixed cranes have long been a go-to piece of equipment for construction companies, outdoor warehouses, and many other types of businesses. But what if you need the ability to move the crane around the work site or lift something on rough terrain? Mobile cranes are growing in popularity due to the benefits they can provide. A mobile crane is much smaller than a typical fixed crane but still capable of providing immense lifting power. Learn why opting for a mobile crane rental for your next project might be the right move. Get Started Quickly When you install a fixed crane on a work site, you will often need to clear the entire area in order to ensure it can be put into place without bumping into any other nearby equipment or causing a safety issue for workers. The crane itself will be brought in using other heavy equipment or heavy-duty vehicles. The setup process is deliberate and will take some time. You will still want to follow basic safety protocols with a mobile crane, of course, but the ability to simply drive the crane to exactly where it needs to be can speed things up. A mobile crane can be fixed to the back of a much smaller vehicle, and you can move it around quickly. This will let you start your project faster. Work in Tight Spaces A fixed crane might be too big to have any chance of getting into the right position, but a mobile crane's smaller footprint could be the perfect fit. Mobile cranes are also ideal for rough terrain where it would be dangerous to try and operate a fixed crane. Transport Easily to Job Sites If your construction company or other business needs to regularly use a crane, going with a mobile crane will make transportation between job sites easier. A large, fixed crane will need to keep special considerations in mind like following traffic laws in regards to oversized loads, but a mobile crane that is placed onto the back of a pickup can be driven with fewer concerns. Have Impressive Lifting Power It might be smaller, but it packs a lot of power into that small footprint. It is possible today to get a mobile crane rental capable of lifting a significant amount of weight. You could look into a crane rental that can handle 15, 30 or even 50 tons without issue. Have a Safer Work Environment You will always want to be mindful of any kind of crane while it is in operation. But a mobile crane's smaller footprint means that fewer people on the work site will have to be alert. A mobile crane can be positioned not only to make the lift easier but to make sure it is always out of the way of other equipment and your employees as much as possible. Make the Cost-Effective Choice Mobile cranes cost less than fixed cranes while still getting the job done. A mobile crane rental is a smart financial move if you will only need it every once in a while instead of all the time. The versatility and efficiency mobile cranes provide can help streamline your next project. 3-B Welding, LLC., has served Ohio as a family-owned and-operated business since 2001. We offer mobile crane rentals for those who need a lift to get their next project over the finish line. Our experienced welders and metal workers can provide further assistance for your business as needed. Contact us today to discuss your options.


